
Summarize with
Homeowners planning a lighting upgrade can explore reliable lighting installation in Abington, MA to learn about professional lighting services. Supreme Painters & Remodelers helps homeowners plan improvements around their property’s needs, budget, and existing finishes.
Key Takeaways
- Budget approximately $150 to $350 per fixture for many straightforward professional installations, with more complex projects costing extra.
- Measure the room and plan fixture locations before cutting into the ceiling.
- Choose LED fixtures that suit the room, ceiling insulation, moisture conditions, and desired brightness.
- Check electrical permit requirements and arrange qualified electrical work before installation begins.
1. How Much Does Recessed Lighting Installation Cost?
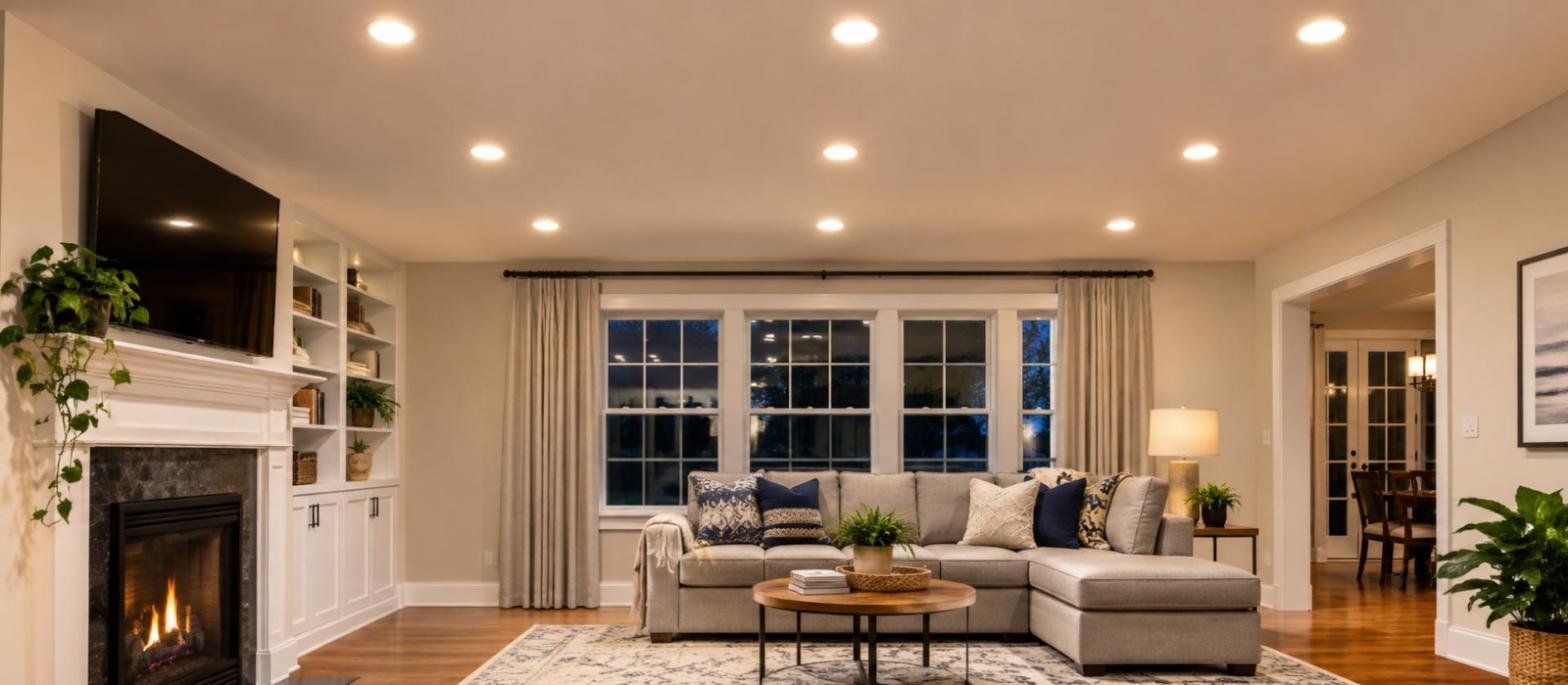
The cost of recessed lighting installation depends on the number of fixtures, ceiling access, wiring requirements, and finishing work. For budgeting purposes, many straightforward projects fall between $150 and $350 per light, including the fixture and standard installation labor. These are planning estimates, not guaranteed local quotes.
Estimated Cost Per Light
| Project item | Estimated cost |
|---|---|
| Basic LED fixture | $20 to $60 |
| Premium or adjustable LED fixture | $50 to $150 |
| Standard installation labor | $100 to $250 per fixture |
| Additional wiring or difficult ceiling access | $100 to $500 or more per project |
| Drywall repair and painting | $150 to $600 or more per project |
| LED compatible dimmer and installation | $75 to $200 |
Costs depend on local labor rates, the condition of the existing electrical system, and the work included in the estimate. A contractor may also charge a minimum service fee for a small project.
What Does a Complete Project Cost?
The following examples show how the budget can change with the number of fixtures and the amount of work involved.
| Project size | Estimated total |
|---|---|
| 4 lights in an accessible ceiling | $600 to $1,400 |
| 6 lights in a living room | $900 to $2,100 |
| 8 lights in a kitchen | $1,200 to $2,800 |
| 10 lights with additional wiring and finish work | $1,800 to $4,000 or more |
These estimates use a per fixture allowance of $150 to $350 for straightforward work. Larger projects may qualify for a lower average installation cost per light, while difficult access, electrical upgrades, and ceiling repairs can increase the total.
For example, six lights at $250 each would cost $1,500 before any additional work not included in that rate. If the project also requires $300 in drywall repairs and painting, the estimated total becomes $1,800.
What Affects the Final Price?
Several factors can change the quote:
- Ceiling access: An open attic usually makes wiring easier. A finished ceiling between floors can require more labor.
- Fixture selection: Basic LED lights cost less than premium adjustable fixtures or specialized models.
- Electrical changes: A new circuit, switch location, or panel upgrade can increase the price.
- Ceiling repairs: Cutting openings and fishing wires may leave areas that need patching and repainting.
- Room conditions: Insulation, joists, ductwork, and existing wiring can restrict fixture placement.
| Tip: Ask for an itemized estimate that separates fixtures, labor, electrical work, permits, and ceiling repairs. This makes it easier to compare quotes fairly. |
2. Choose Fixtures and Plan the Budget
The right fixture depends on the room, ceiling construction, and lighting effect you want. Before choosing a model, consider its brightness, trim style, color temperature, dimming compatibility, and insulation rating.
Recessed Lighting vs Can Lights
The terms describe closely related lighting options. Recessed lighting is the general category, while can lights traditionally refer to fixtures installed inside a metal housing above the ceiling.
| Feature | Traditional can lights | Canless LED lights |
|---|---|---|
| Construction | Separate housing and trim | Compact integrated fixture |
| Ceiling space | Usually needs more clearance | Often fits tighter ceiling spaces |
| Best use | New construction or suitable existing housings | Many renovation and retrofit projects |
| Maintenance | Bulb or compatible module may be replaceable | Some models require replacing the entire fixture |
| Initial cost | Varies by housing and trim | Varies by fixture quality and features |
Canless fixtures can reduce the amount of space needed above the ceiling, but they are not suitable for every situation. Always check the manufacturer’s installation instructions and required clearances.
Choose the Right Light Color
Color temperature affects how a room feels. It is measured in kelvins.
- 2700K: Warm light suited to bedrooms and relaxing living spaces.
- 3000K: Comfortable, slightly cleaner light for living rooms and many kitchens.
- 3500K to 4000K: A more neutral appearance for work areas, utility rooms, and some contemporary kitchens.
Brightness matters just as much. Look at lumens rather than watts alone when comparing LED fixtures. A dimmer can provide flexibility, allowing brighter light for cooking or cleaning and softer light in the evening.
Consider Energy Use
LED fixtures are a practical option for most homeowners because they produce light efficiently and generally require less frequent replacement than traditional incandescent bulbs. The US Department of Energy reports that quality LED products can have a useful life of 30,000 to 50,000 hours or longer, depending on the product and operating conditions.
Read the Department of Energy’s LED lighting guidance before comparing fixture specifications. A more efficient fixture can reduce electricity use, although actual savings depend on wattage, daily operating hours, and local electricity rates.
3. Plan the Layout and Check Safety Requirements
A professional recessed lighting installation starts with accurate measurements and a clear understanding of the ceiling. Planning fixture locations before work begins helps prevent uneven lighting, unnecessary ceiling openings, and expensive changes.
How to Plan Fixture Placement
Start by measuring the room’s length and width. Mark windows, cabinets, doors, ceiling beams, and major furniture on a simple floor plan. Then decide which areas need general lighting, task lighting, or accent lighting.
A useful starting point is to space fixtures about half the ceiling height apart. With an 8 foot ceiling, that suggests roughly 4 feet between lights. This is only a guideline. Fixture output, beam angle, room shape, and wall placement can change the ideal spacing.
Keep these points in mind:
- Position lights to illuminate useful areas instead of simply filling the ceiling with a symmetrical grid.
- Avoid placing fixtures directly above the tops of people’s heads where shadows could interfere with tasks.
- Consider furniture arrangements and wall features before choosing final locations.
- Check joists, pipes, ducts, and existing wires before cutting openings.
- Use dimmable fixtures when different activities require different light levels.
How Many Recessed Lights In A Room
The answer depends on room size, ceiling height, fixture brightness, and the purpose of the lighting. A 12 by 12 foot room may work well with four to six fixtures for general illumination, but that number is not a universal rule.
For example, a living room with several lamps may need fewer ceiling lights than a kitchen with dark cabinets and several work surfaces. The goal is balanced light rather than the highest possible fixture count.
Recessed Lighting Spacing and the 5 Foot 7 Rule
This phrase usually refers to the distance between fixtures and between fixtures and walls. A common starting point is to use half the ceiling height for the distance between lights, then adjust based on the fixture’s beam spread and the room’s needs.
The so called 5 foot 7 rule is not a universal electrical code requirement. If someone uses it to describe a recessed lighting layout or spacing method, ask what measurements and fixture specifications it refers to. A measured plan is more reliable than following a rule without considering the room.
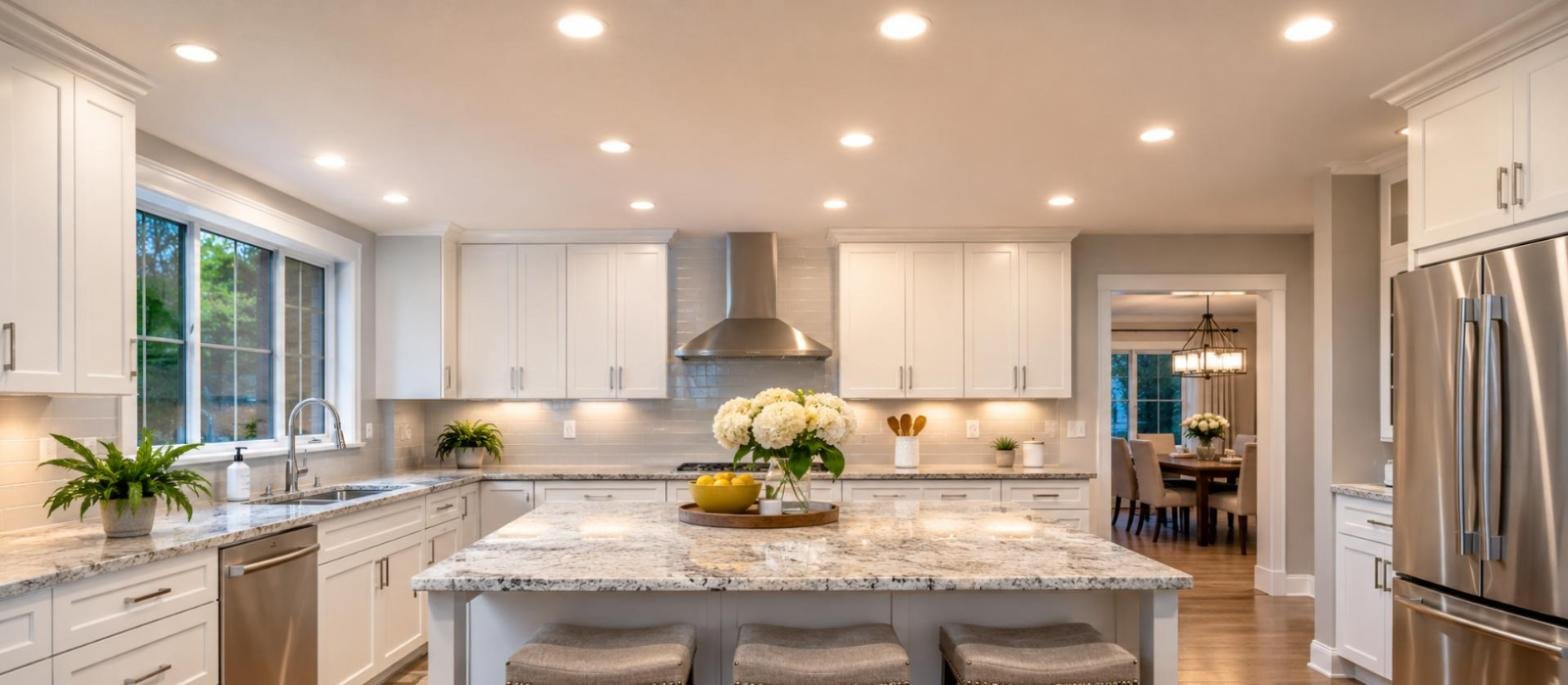
For kitchens, LED recessed lights for kitchen areas should provide enough light over counters, sinks, and food preparation zones. Position task lights so people working at the counter do not cast shadows over the work surface. Under cabinet lights can help fill in darker areas. If lighting is part of a bigger kitchen update, our kitchen remodel cost guide shows how it fits into the overall budget.
Check Permits and Electrical Safety
Massachusetts homeowners should check the applicable permit requirements before electrical work begins. The state provides an official application for an electrical work permit, and its electrical licensing guidance explains that regulated electrical work must be handled by appropriately licensed professionals.
Requirements can depend on the scope of work and the local municipality. Confirm the process with the local inspector of wires before starting. Never assume that adding lights to an existing circuit automatically means a permit is unnecessary.
Fixtures must also suit the ceiling conditions. In insulated ceilings, use fixtures rated for the intended insulation contact conditions. Bathrooms and other wet areas need fixtures specifically approved for the relevant moisture exposure.
| Tip: Before any ceiling is cut, verify the fixture dimensions, joist positions, insulation conditions, and wiring route. Finding a problem on paper is far less expensive than discovering it after installation begins. |
4. Understand the Installation Process
The installation method depends on whether the ceiling is open or already finished. New construction gives installers access to the framing, while retrofit work requires careful cutting and wiring through the existing ceiling.
Step 1: Inspect the Ceiling
Before starting recessed lighting installation, inspect the ceiling cavity for joists, insulation, plumbing, ductwork, and electrical cables. Confirm that the selected fixtures will fit the available space and meet the manufacturer’s clearance requirements.
The inspection also helps identify whether existing wiring can support the planned lights or whether an electrician needs to make circuit changes.
Step 2: Mark Each Fixture Location
Measure the room and mark each proposed light on the ceiling. Check the spacing from walls and between fixtures, then compare the marks with the room’s furniture, cabinets, and work areas.
For recessed lighting installation in an existing room, this step is especially important because ceiling openings can be difficult to move once cut. A small adjustment may help avoid a joist or place light more effectively over a counter.
Step 3: Prepare the Wiring
Electrical work should be completed by a qualified professional when required by Massachusetts law. The electrician identifies the appropriate circuit, checks the load, plans the switch arrangement, and confirms that the wiring and connections meet applicable requirements.
Power must be shut off at the breaker and verified before electrical components are handled. A wall switch alone is not a safe substitute for isolating the circuit.
Step 4: Install the Fixtures
For new construction, housings are secured to the framing before the ceiling is finished. During a retrofit, the installer cuts openings using the fixture manufacturer’s template and secures compatible fixtures through the existing ceiling.
The installer then completes the electrical connections, secures the units, and fits the trims or LED modules according to the product instructions.
Step 5: Test and Finish the Ceiling
Once the electrical work is complete, the installer checks that every light operates properly and that dimmers work with the selected fixtures. The final inspection should also check for loose trims, uneven light distribution, and visible gaps around the openings.
Any damaged drywall should be repaired and painted as needed. This finishing work is one reason recessed lighting installation can cost more in a finished room than in a space with open framing.
5. Avoid Common Lighting Mistakes
Poor planning can leave a room with dark corners, unwanted glare, or more lights than it needs. The following mistakes are worth avoiding before approving the final layout.
Installing Too Many Fixtures
Adding more lights does not automatically improve a room. Too many bright fixtures can make a living space feel harsh, increase energy use, and create glare on televisions or glossy surfaces.
Calculate the lighting needs first. If the room already has lamps, pendants, or under cabinet lights, include them in the plan before deciding how many ceiling fixtures to add.
Ignoring Wall and Counter Placement
A symmetrical ceiling pattern may look neat on paper but still leave work surfaces poorly lit. Lights that sit too far behind a person working at a counter can create shadows.
During recessed lighting installation, fixture placement should reflect how the room will actually be used. Kitchen lights may need to align with counters and islands, while living room lights may work better around seating and walking areas.
Choosing the Wrong Fixture
A fixture that does not fit the ceiling depth or insulation conditions can create installation problems. A model without the correct moisture rating should not be used in a wet location.
Check the product specifications before purchasing. Also confirm that LED fixtures and dimmer switches are compatible to reduce the chance of flickering or buzzing.
Forgetting About Repairs
Cutting holes and running new wires can damage painted surfaces, particularly in older homes. Ask whether patching, sanding, priming, and repainting are included in the quote.
For recessed lighting installation in a finished room, a written estimate should explain which repairs are covered and which may cost extra. That prevents misunderstandings when the work is complete.
| Tip: Test the proposed layout using a ceiling sketch and the fixture manufacturer’s lighting information. If the room has unusual dimensions or a sloped ceiling, ask the installer to review the plan before work begins. |
6. Keep the Project Within Budget
The best way to control costs is to settle the layout, fixture type, and scope of work before installation starts. Last minute changes can lead to extra wiring, new ceiling openings, and additional painting.
Ways to Reduce the Cost
- Group the work together. Installing several fixtures in one room may reduce the average labor cost compared with separate visits.
- Choose suitable standard fixtures. Premium trims and specialized controls are useful in some spaces, but not every room needs them.
- Confirm existing circuit capacity. Have an electrician assess the circuit before assuming it can support additional fixtures.
- Plan the finish work. Coordinate ceiling repairs and painting with the installation schedule.
- Compare complete quotes. Review fixture quality, labor, electrical work, permits, cleanup, and repairs instead of choosing the lowest headline price.
An efficient recessed lighting installation plan also considers future maintenance. Ask whether individual LED modules can be replaced and whether the fixture’s specifications and warranty will remain accessible after installation.
Frequently Asked Questions
Can you provide a guide for laying out recessed lighting?
Yes. Start by measuring the room, marking focal points, and dividing the ceiling into even zones. Use ceiling height to estimate spacing, then add task lighting over counters, islands, desks, and reading areas.
What is the average labor cost to install recessed lighting?
Standard installation labor often runs about $100 to $250 per fixture. With a basic LED fixture included, many straightforward projects land around $150 to $350 per light. The total can rise if the ceiling is difficult to access, wiring must be extended, or drywall repairs are needed.
What is the 5’7″ lighting rule?
The 5 foot 7 inch rule is a spacing guideline used to help position recessed fixtures evenly in a room. It is a starting point for layout, but ceiling height, beam angle, and room shape should also guide the final placement.
How much do electricians charge to put in recessed lighting?
For many straightforward installations, expect roughly $150 to $350 per light including the fixture and standard labor. Projects with complex wiring, plaster ceilings, new circuits, permits, or drywall repair can cost more, so ask for an itemized quote.
Do you install lighting in older homes?
Yes. Supreme Painters & Remodelers works with older homes throughout the Abington area. We assess ceiling access, wiring condition, insulation, and structural obstacles before recommending the best installation approach.
Do I need a permit for new recessed lights?
Permit requirements vary by town and project scope. Many projects that add new circuits or modify existing wiring require a permit and inspection, so we review local requirements before starting work.
Can you install lights in a finished ceiling?
Yes. We install retrofit fixtures in finished ceilings whenever possible. We also identify areas where minor drywall access or repair may be needed and explain that before work begins.
Conclusion
A successful recessed lighting installation starts with a practical layout, suitable fixtures, and a clear budget. Measure the room carefully, consider the ceiling conditions, and account for electrical work and finishing costs before choosing the final design.
For Massachusetts homeowners, permit requirements and qualified electrical work should be part of the plan from the beginning. A detailed estimate also makes it easier to compare options and avoid unexpected expenses.
Plan Your Lighting Project
If you are considering new ceiling lights or updating an existing room, contact Supreme Painters & Remodelers to discuss your project and the work involved.
- Call (617) 888-9052
- Email omar@supremepaintersremodelers.com
Share your room dimensions, preferred fixture style, and any ceiling access concerns to help establish a realistic project estimate.
Sources
- US Department of Energy: LED Basics. Explains typical LED service life and helps homeowners compare lighting efficiency and product specifications.
- Massachusetts Department of Fire Services: Electrical Work Permit Application. Provides the state’s electrical permit application and references compliance with the Massachusetts Electrical Code.